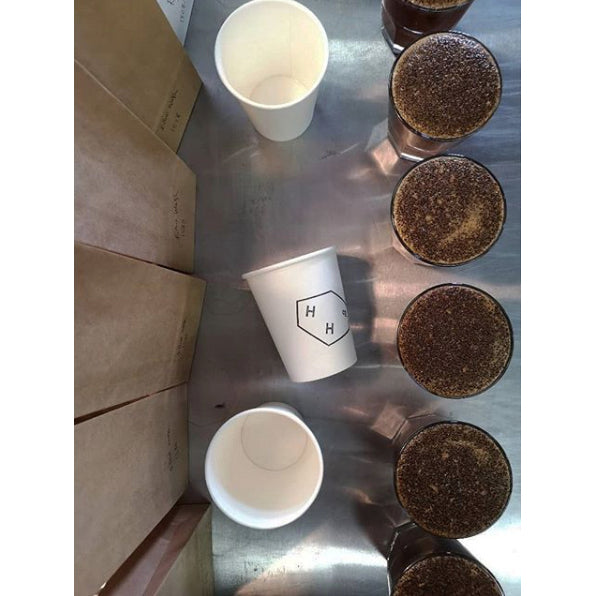
On Coffee | Beginners Guide to Cupping Coffee
Coffee cupping is very much a labour of love with many rewards. Even after 18 years of cupping, I am still like a kid in a candy shop when approaching the cupping table.
The ritual of inhaling aromas and slurping on flavours like a little boy with no manners brings a smile to my face and excitement in the mysteries that are about to unfold.
Cupping coffee can transport you to a farm halfway around the world or lead you to exciting new origins or offerings you never knew about.


What and why
>Cupping coffee is a system of classification based on a handful of learned skills – skills that once learned can reveal many answers to roasting and brewing questions, not to mention it can be a lot of fun too.
Whatever your level – you need to develop a good vocabulary in order to understand and communicate the sense or feeling you get from a coffee.
Don’t be afraid to invent your own words and phrases – it is important to write your impression in your words – if a coffee reminds you of some sweets you had when you were a kid – write it down. Professional terms gradually integrate your vocabulary as you become more practiced.
Coffee roasters often use cupping as a tool for developing or creating their blends, checking their competition, troubleshooting or sourcing new coffees. But most important of all is quality control – as a roaster, fail to cup the coffee you roast and lose out to the roasters who do. Roasters who regularly cup their coffee constantly change and improve their quality. While people who cup for fun can really enjoy the full potential of what a coffee has to offer.
What do you need
Here is a list of the basics of what you need to get started:
Roasted coffee to taste
Grinder
Scales
Cupping glasses – rocks glass is perfect (a five or six oz glass)
Cupping spoons or deep soup/dessert spoons are fine
A kettle
A timer
Also useful is a well-lit, quiet, environment with a high table
Oh, and a selection of unknown or interesting coffees too!
Note for roasters – sample roast the coffee to an agtron of 60 to 65 for eight to ten minutes.

Determining measurements
The optimum ratio for brewing coffee is 8.25 grams per 150 millilitres of water. Which works out as about 13 – 14 grams in a rocks glass.
Weigh your coffee out as whole bean
When grinding your coffees – your particle size should be somewhere between paper drip filter and cafetière grind
If you’re buying ground coffee from a café or store – make sure it is a very light roast and ideally cup it within 24 hours of it being roasted.
The ideal water temperature is 93 degrees centigrade, so once boiled, give the kettle a moment before pouring to let the water cool a few degrees.

Procedure
Boil the kettle
Grind your measured coffees
Make a note of the tone or colour of the grinds
Spin the grounds in the glass, tilt the glass at a 45 degree angle, get your nose in there and inhale the aromas
Steadily pour water on the grounds to the top of the glass and start the timer
After 4 minutes, take your spoon and break the crust of coffee whilst smelling the aromas that are released.
Carefully scoop off the floating crema or grinds off the surface.
Once the coffee reaches a comfortable temperature, dip your spoon in and slurp some coffee
The idea of slurping the coffee is to spray the coffee over your nasal passages at the back of your mouth – this will increase your sense of flavour

Hints and tips
Treat cupping like a science experiment. So, before you cup your selection, it helps to know as much as possible about each lot – like its age, its processing, its altitude growth and its varietal.
Writing down your thoughts, ratings or comparisons is important because your comments are valuable
Don’t cup after you’ve just had lunch!
Don’t wear scents or wash your hands with perfumed soap
Now go and taste some coffee!


